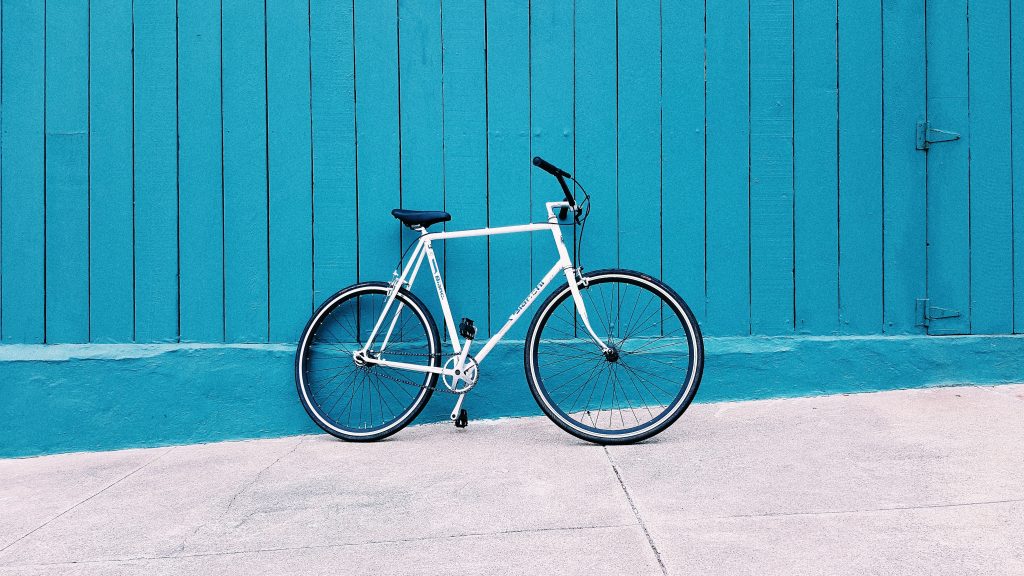
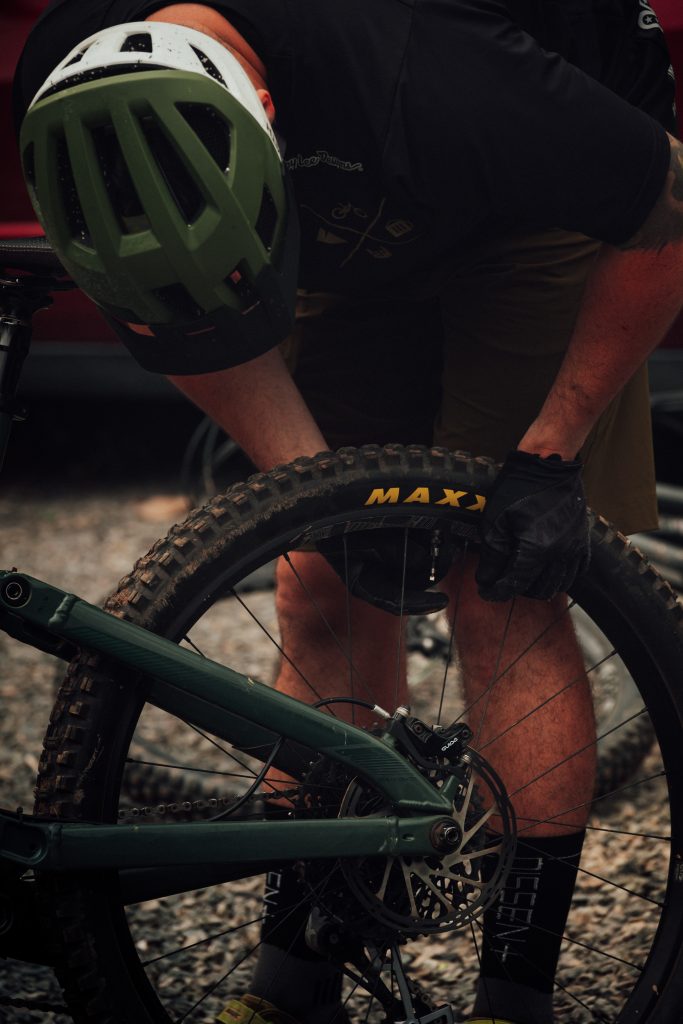
The weather is improving, and it seems like the right time to get the bike out and go for a ride. But, a flat tire is getting in the way of you getting on the road. A tire will lose air over time- and after an extended period of storage, it is not unusual to see most of the air gone.
There are several types of air-valve and pump, which complicates the issue. This is a guide to get you through the process of inflating your bike tires.
Types of Tire Valve

The major hurdle that people have when trying to inflate a tire – is getting the right attachment for the right valve.
There are two main types:
- Presta – The valve needle sticks out.
- Schrader – It has an inverted needle.
There are also other valves, such as the Woods (also known as the Dunlop Valve). Some high-end bike manufacturers have bespoke valves, but the above are the most common.
The Presta valve is narrow with a small nut. The Schrader is wider, and the pin is inside the wall of the valve pipe.
Tire Pressure
Different types of bike tire need different pressures – the lower the profile, the high the pressure. And to get this right, you will need to use either a pressure gauge or even better a pump with a pressure gauge built-in.
The tire will have the ideal pressure printed between the tread and the bike rim. Typical bike tire pressures are:
- Mountain Bike: 1.7 – 2.4 bar (25 – 35 PSI)
- Cruising Bike: 2.8 – 4.8 bar (40 – 70 PSI)
- Racing Bike: 5.5 – 8.9 bar (80 – 130 PSI)
Those with heavier builds will need to use the upper end of the pressure recommendation.
How to Use a Floor Pump
Step 1: Remove the Dust Cap
All tire valves should have a plastic cap protecting them. These caps protect the valve pins and prevent dirt and other debris from clogging them up.
Turn the cap counterclockwise, remove it, and put it where you will not lose it.
Step 2: If You Have a Schrader Valve, Move to Step 3
Presta valves come with a small nut, which screws into the valve, pulling the pressure pin outwards. This is so that, when the wheel is turning, the force of the turning cannot pull the pin in and release air.
Release the pin by turning this nut counterclockwise until it is level with the top of the screw. You may need pliers to start.
Step 3: Using the right pump nozzle.
Make sure that you have the correct nozzle on the pump. Some pumps come with reversible nozzles, which you do not need to swap.
The Schrader nozzle is wider and has a plastic pin in the center. This plastic pin will push down on the valve pin. The Presta valve attachment does not have this pin, and it has a smaller diameter.
Step 4: Locking the Pump Attachment to the Valve
Once you have the correct attachment, make sure the attachment lever is pointing towards the axel. Push the attachment down on to the valve.
Some air may come out, but you can pump this back in. still pushing, pull the attachment clamp down to lock it on to the valve.
Step 5: Pumping
At the bottom of your pump, there should be two pedals to stand on – often these fold down from the sides.
Stand on the pedals and push down on the pump handle. If you have a pump with an air gauge, keep checking the pressure as you go. If you have a separate gauge, you will need to keep disconnecting the pump to check the pressure.
Continue pumping until you have reached your recommended pressure.
Step 6: Removing the Pump.
Push the pump attachment down on to the valve and pull the clamp lever upwards to release it. Lift the attachment upwards. You may need to shake the attachment a little to free it from the valve.
Step 7: Replacing the Dust Cap
With Presta valves, you will first need to tighten up the small nut on the valve, clockwise. Place the dust cap back on the valve and tighten it – clockwise.
Simple!
How to Use a Hand Pump

Whenever you go out for a ride, it is worth taking a repair kit and a small hand pump with you, in case you get a flat in the middle of nowhere. Some people may have this small pump and nothing else, and the steps to pumping up a tire are a little different.
Step 1: Unscrew the Dust Cap
Turn the dust cap counterclockwise and remove it, put it somewhere where you will not lose it.
Step 2: For Schrader valves, Go to Step 3.
Presta valves have a small nut, which secures the valve pin and prevents the loss of air when the tire is spinning.
Unscrew this nut counterclockwise until it is level with the height of the screw.
Step 3: Choosing the Correct Pump Attachment
Most hand pumps have reversible attachments – in some cases, they may have two separate attachments.
In either case, the Presta attachment is the smaller diameter of the two. And the Schrader attachment has a plastic pin to push down the bike’s valve pin.
Step 4: Pushing the Attachment On to the Valve
Make sure that the locking lever on the pump is pointing upwards – leaving it free to accept the valve. Push the pump attachment down, on to the valve and lock it in place with the locking lever.
Step 5: Getting to the Correct Pressure
Hand pumps take a lot more work than free-standing pumps, and most will not have pressure gauges. If it has a pressure gauge, keep pumping until you reach the desired pressure.
You can get an estimate by squeezing the tire with your thumb. If your thumb can push into the rubber tire, then it is still too soft.
It is better to confirm the pressure with an independent gauge once you have finished.
Step 6: Removing the Pump From the Valve
Keep pressure on the pump’s attachment and lift the clamping lever. Pull the attachment upwards – you may need to shake it a little to free it up. You want to lift it fast to prevent any loss of pressure.
Step 7: Replacing the Dust Caps
The valve nut on a Presta fitting will need screwing up tight, clockwise. Make sure that no air escaping from the valve – put your ear close to the pin.
Also, make sure the valve is clean before putting the dust cap back on – tighten it up, clockwise.
And you are done!
Pump Recommendations
(I did not want to put this bit in because I assumed that you would choose something else. If it is not the case, I am happy to add them. All the best Cris)